The most obvious requirement for darkroom work is a dark room, but this isn’t as simple as closing the curtains and shutting the door. “Dark” in this context doesn’t mean “pretty dark, like at night with the lights out and the blinds closed”; it means “totally dark, like an unlit coal mine”.
And unless you actually live in a coal mine, that’s not always a straightforward proposition.
There are a few ways to approach this. The first is to have a dedicated, permanent darkroom, built or adapted specifically for that purpose, fully light tight, properly ventilated, with no unnecessary sources of light in the room itself and with everything set up permanently. This is the ideal, but not even remotely possible in a rented apartment.
The second option is a semi-permanent setup, where a room can be readily configured as a darkroom while being used for its other purposes at other times. This implies darkening methods which are easy and quick to put up and tear down, repeatedly. It also implies having the enlarger(s) permanently in place.
The final option is a temporary setup in which everything is moved into a room which can be readily darkened. Commonly, this is a windowless bathroom and often such setups involve setting the enlarger on a toilet, or having it on a sturdy rolling cart, with a temporary bench covering part of the bathtub to act as the “wet side” of the darkroom. This has the advantage of ready access to running water and drainage. It has the major disadvantage of making a bathroom unusable for the duration of a printing session, and a lengthy setup/teardown process.
I’m going with option 2 here. A dedicated room is out of the question just now and we only have one cramped bathroom. Also, going with a temporary setup I know what will happen. I’ll consider printing, decide that the time I need to just set up isn’t worth it, and put it off. We do, however, have a room which is presently my office, camera gear store, general storage and home to the cat litter box. It has a large window (47″ x 47″) facing east into a line of trees and several pieces of electrical equipment which can’t be turned off (the webserver this page came from, our cable modem and WLAN router being the main culprits). The one catch is that all the changes need to be easily reversible, so I’m limited to options which are self adhesive, or which require minimal anchoring to walls.
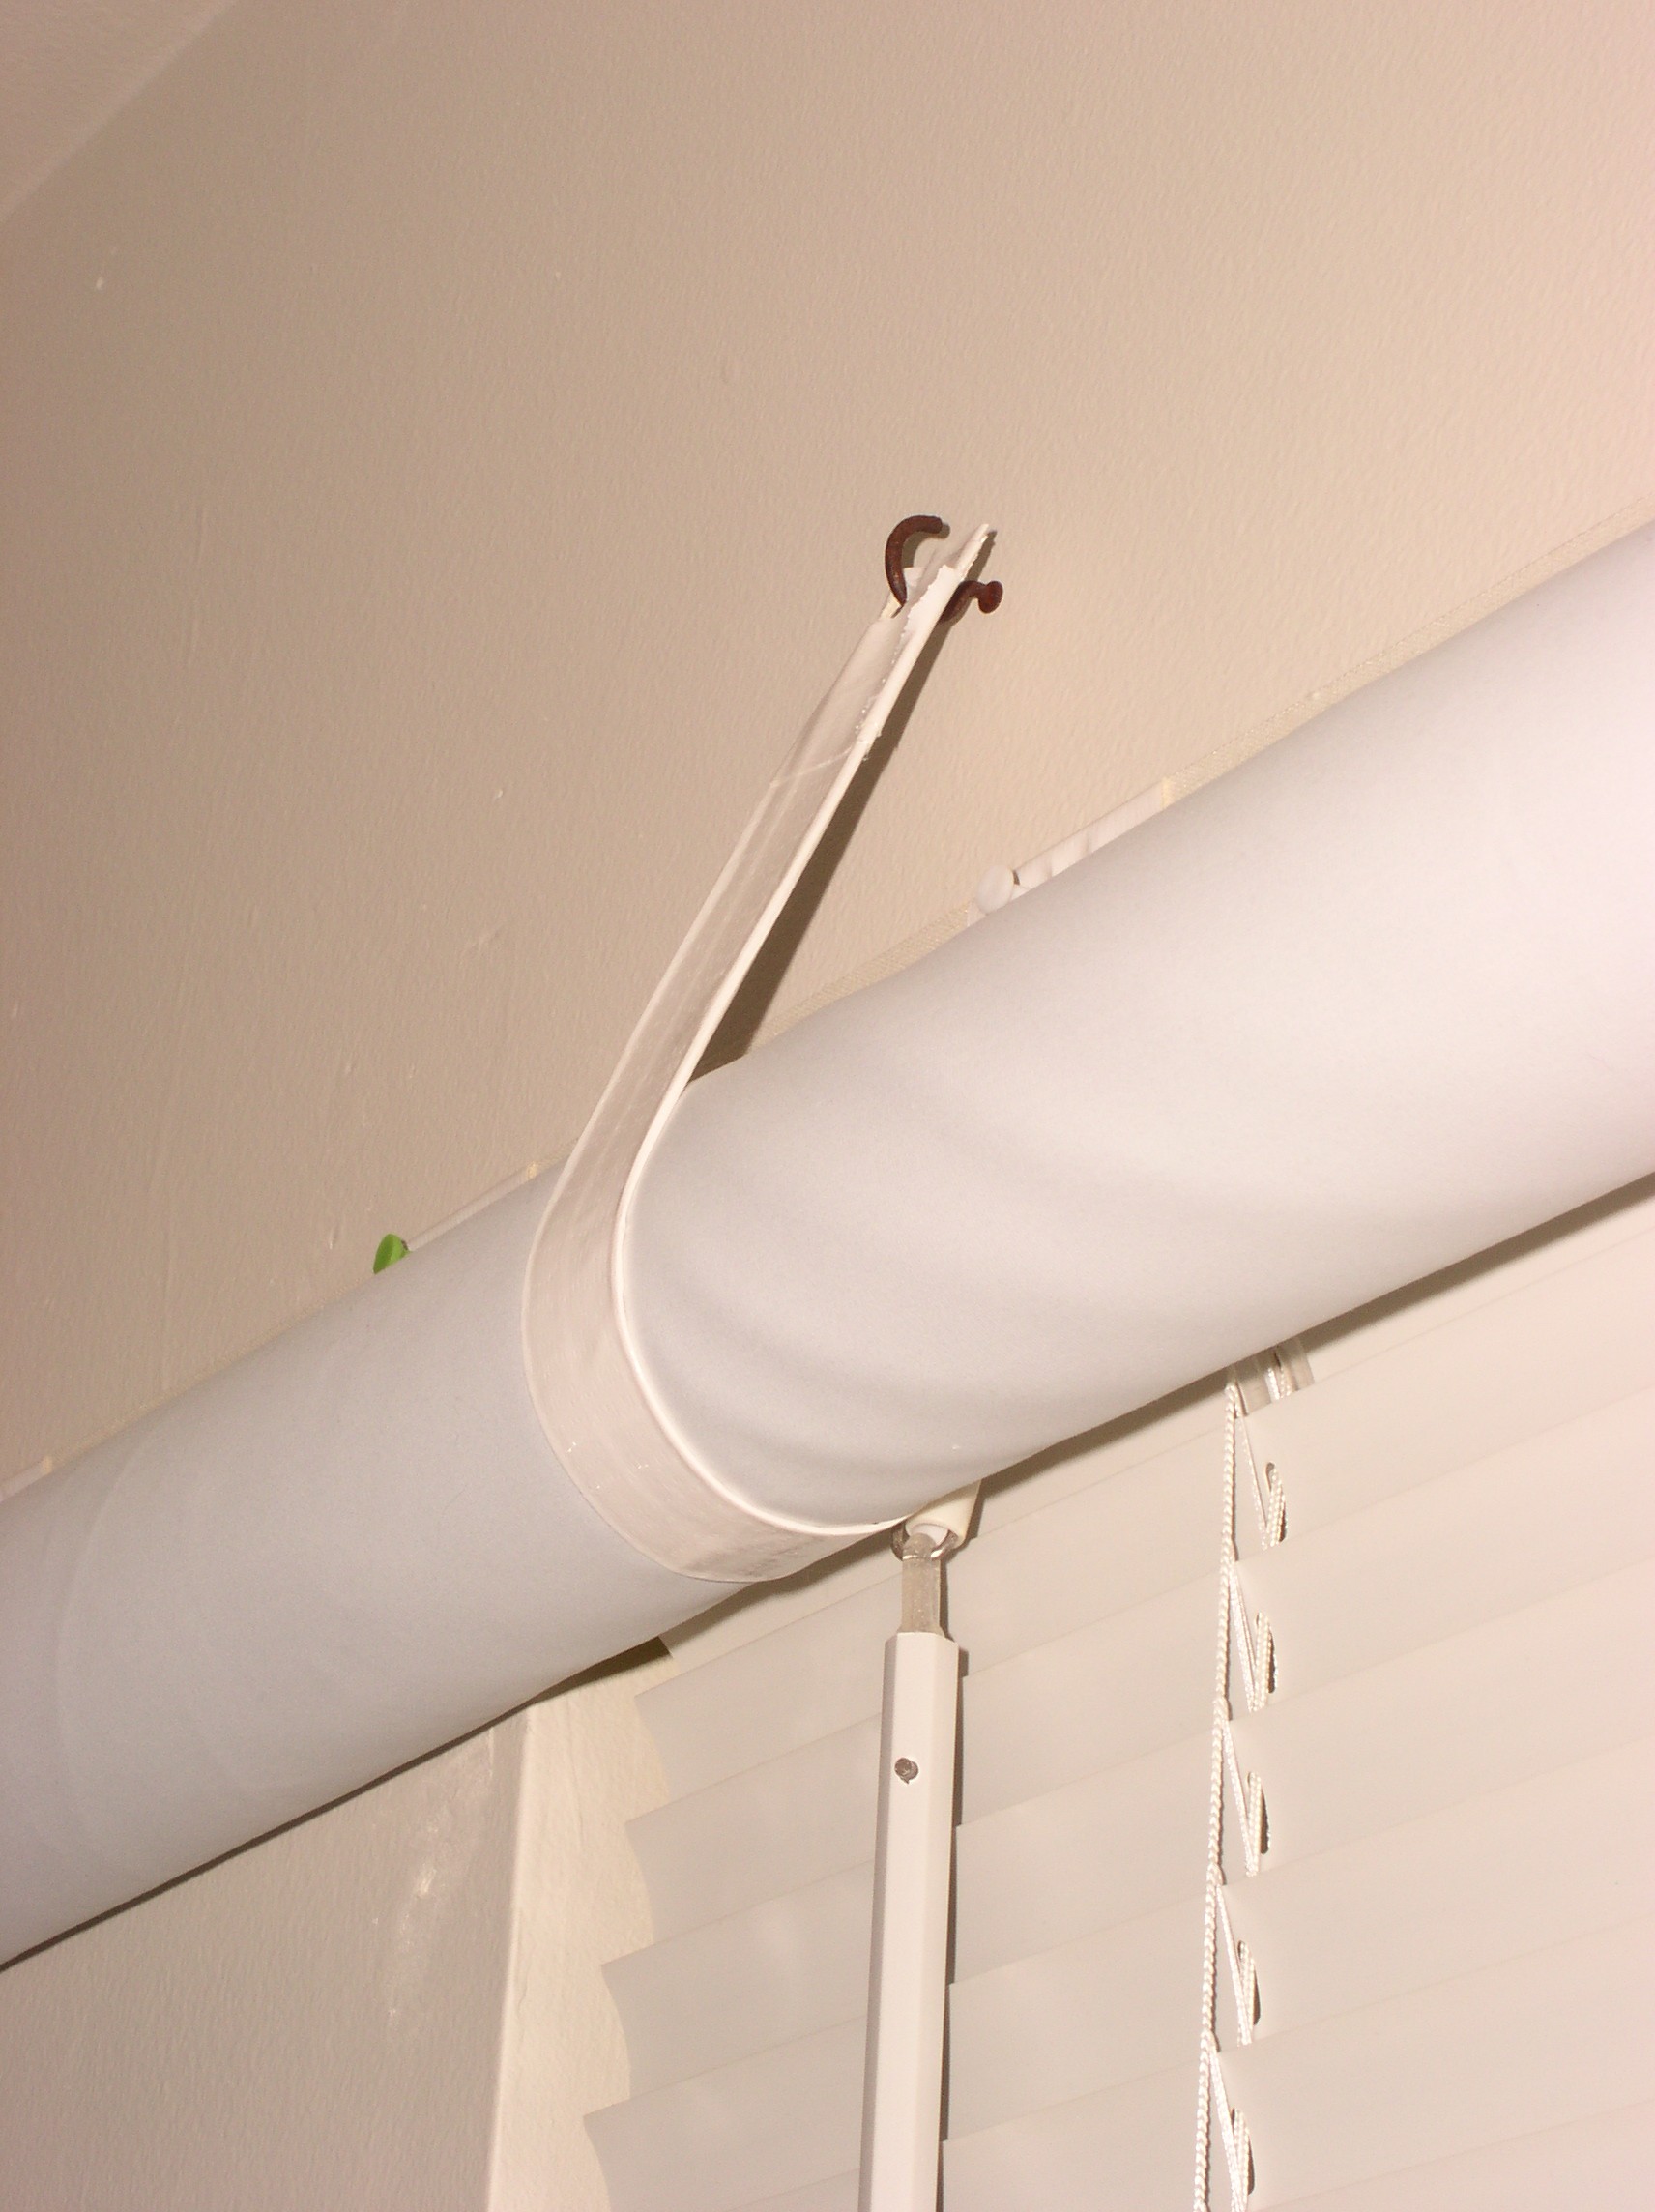 Ironically it seems that blacking out the big window is the least of my problems. I found a budget-priced blackout material normally used for curtain linings at Jo-Ann Fabrics; it’s called Roc-Lon Budget Blackout, it comes in a slightly off-white color which turned out to be a perfect match to the color the walls are painted, and it is very effective at what it does. It was also on half-price sale, so I picked up 2 yards of the stuff for under $8. That, plus the existing window blind, is enough to cut all light after sundown, and it looks like I can block out full daylight just by supplementing it with some cardboard over the window panes. I already have a foldable thick cardboard I use for cutting mats on, which fits across the window and leaves less than a foot open at the top. Initial impressions are this is sufficient to block everything; even in full daylight the blackout blind almost did the job by itself. It’s pinned tight to the wall above the window, has a wide overlap past the window, and the big cardboard roll it came on is taped to the bottom end, which helps weight it down in place when in use and acts as a way to store it the rest of the time. I roll it up to the top of the window and secure it with three straps made of white Duck tape. Not exactly “Better Homes and Gardens” friendly, but nor is it out and out fugly. And it takes maybe a minute to change configuration.
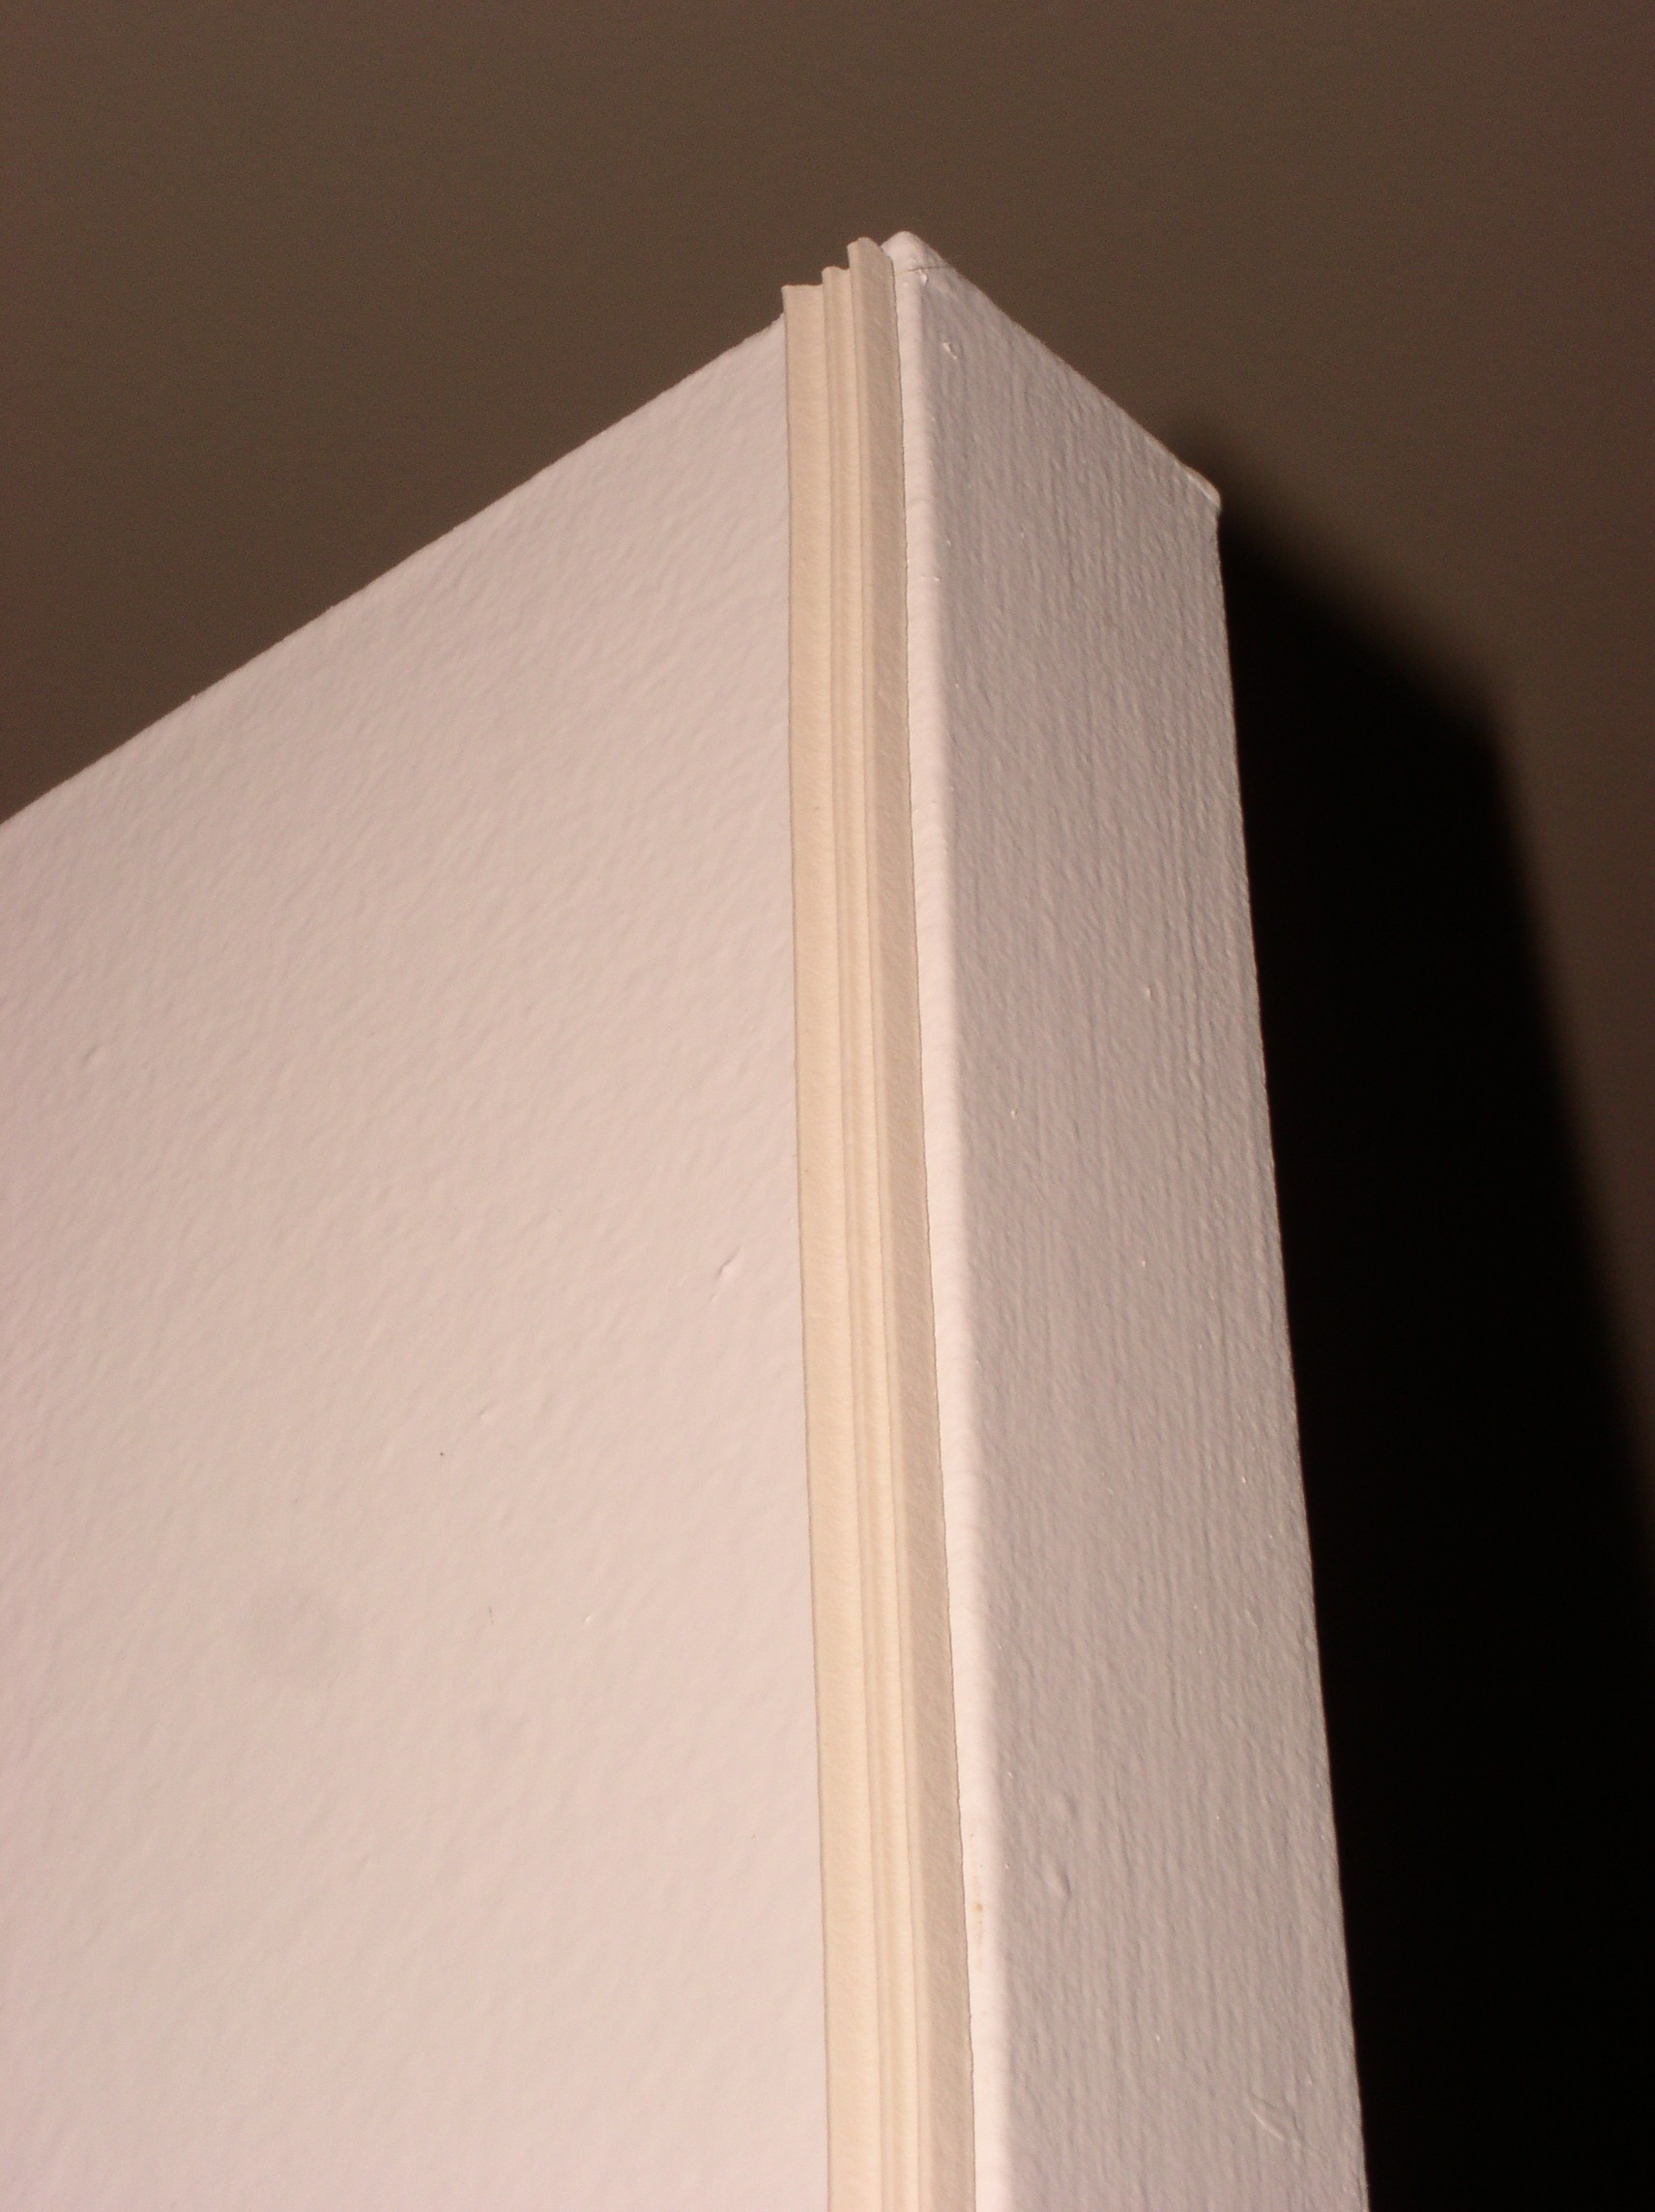
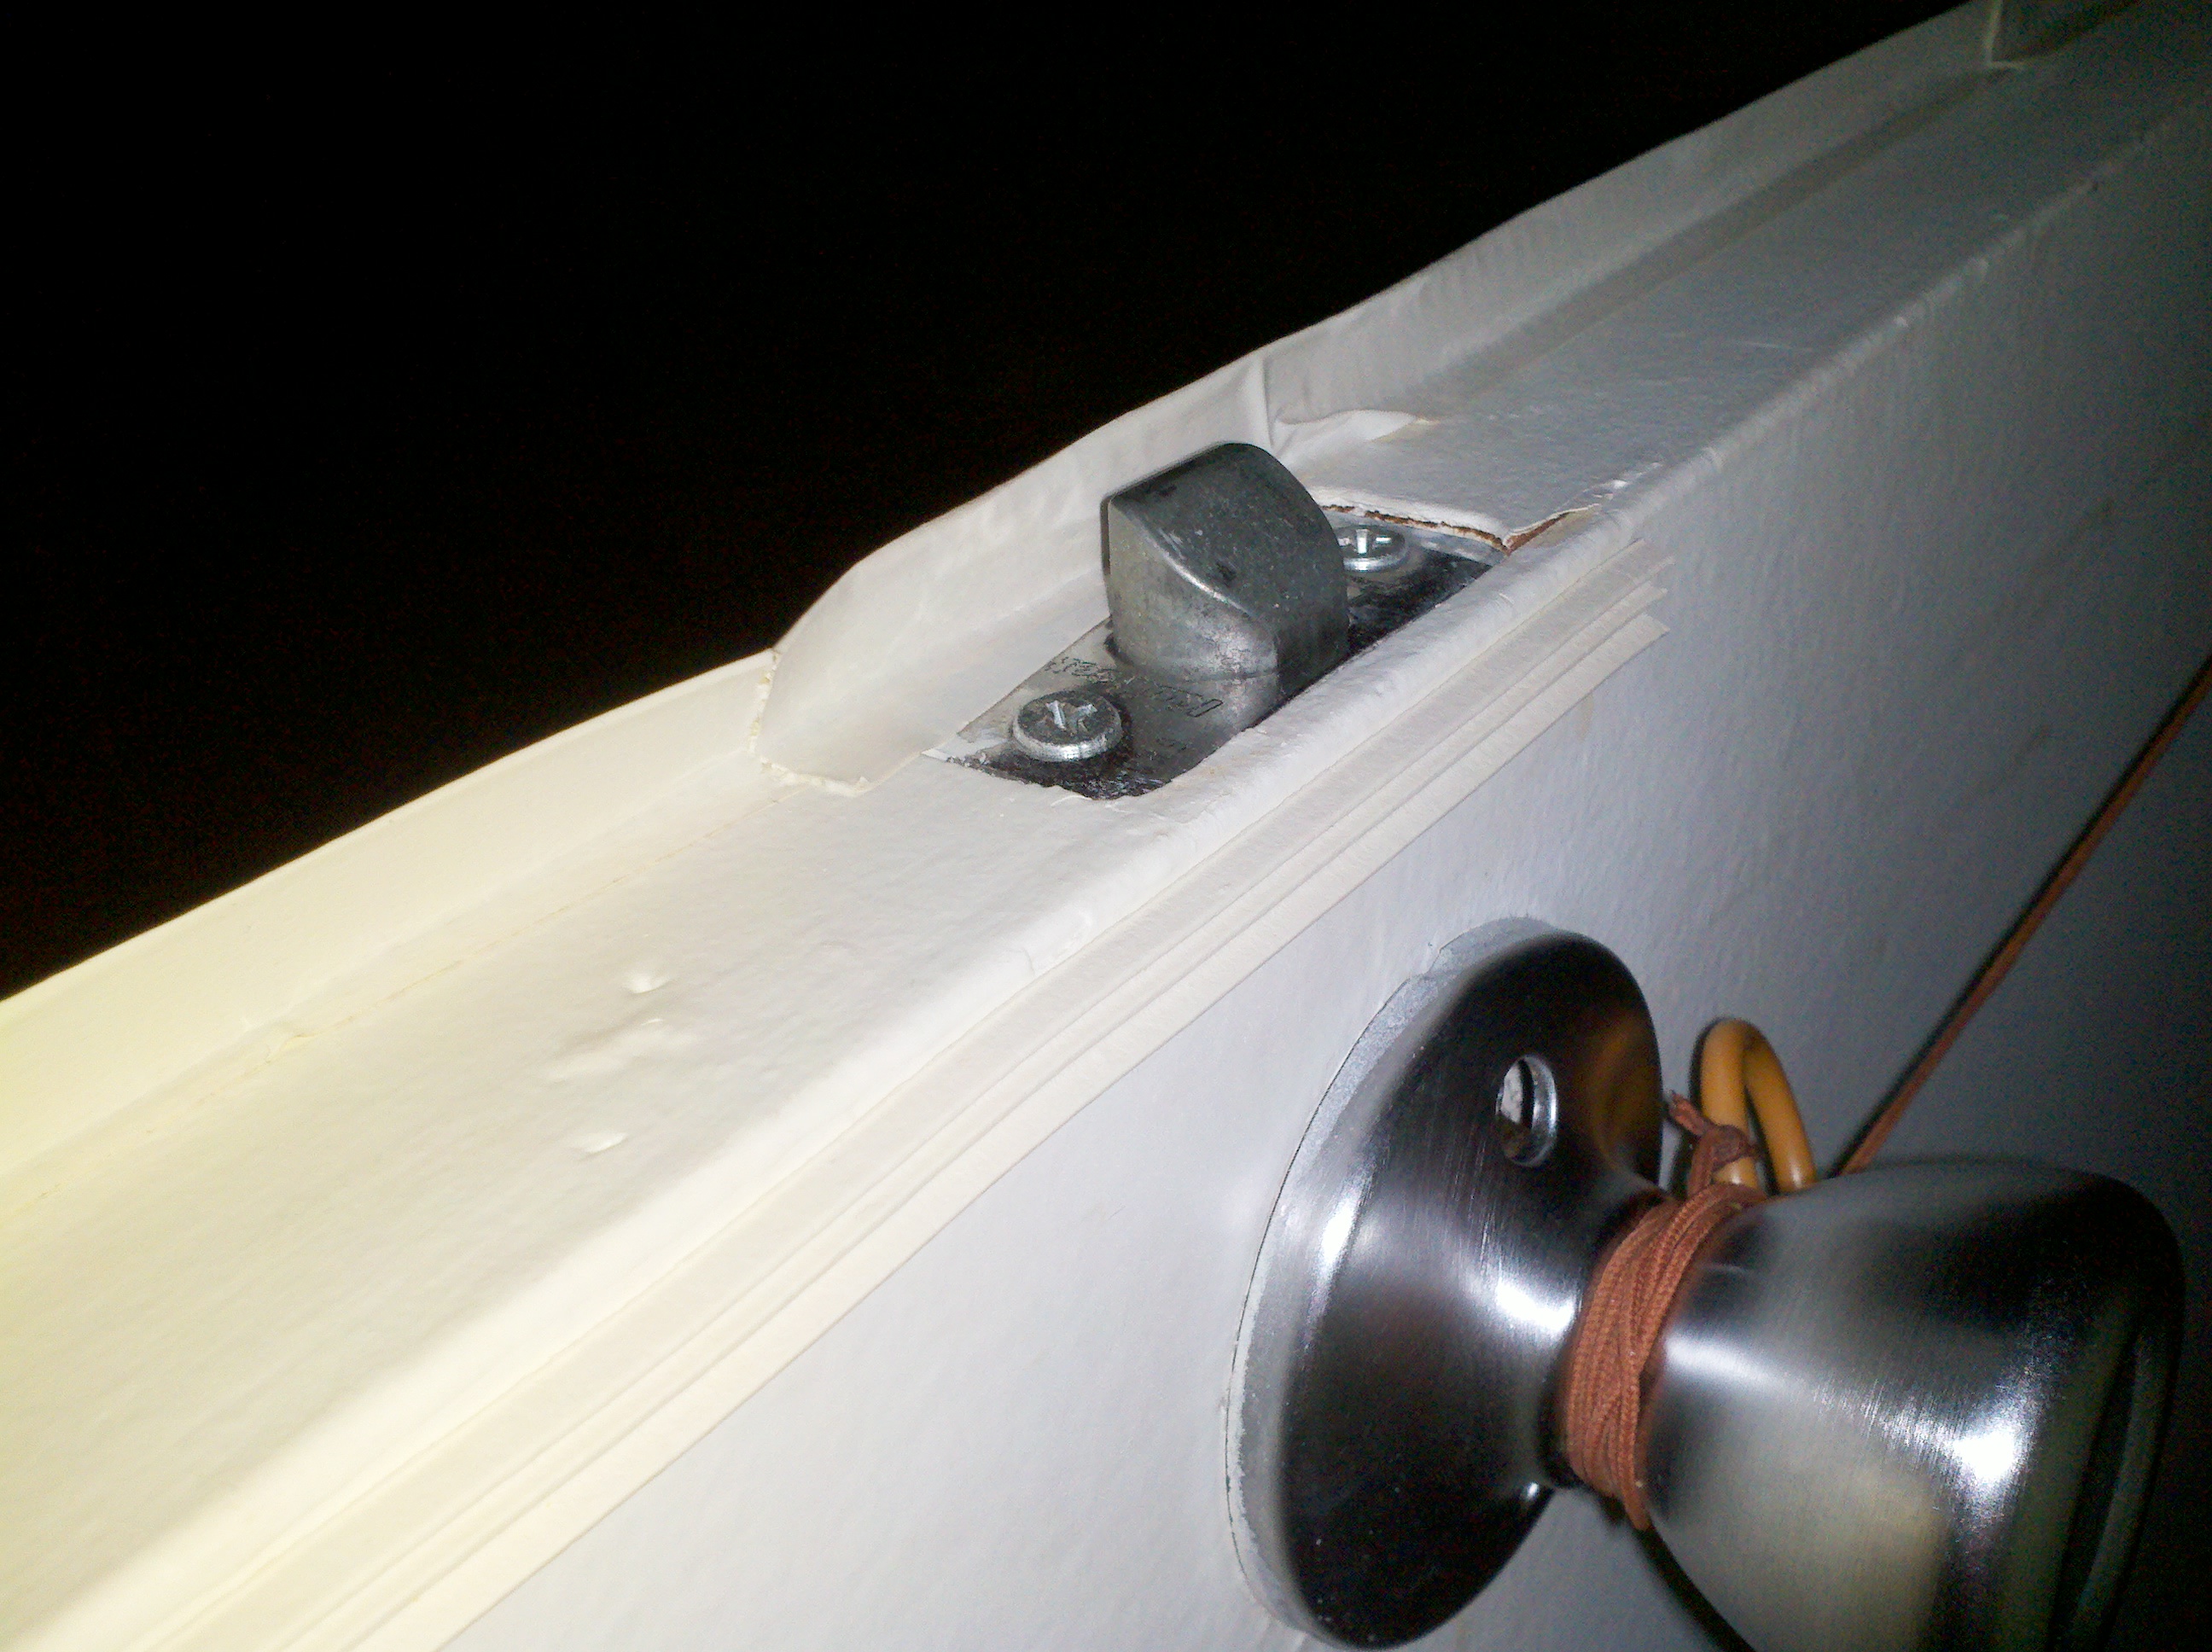 The door, surprisingly, turned out to be a bigger problem. It’s a cheap, slightly warped door which rubs against the frame near the hinge and has a good 1/4 inch gap between it and the doorstop molding at the latch side. Even after running weatherstripping around it, a quick test showed that there was some light leakage (and bear in mind the other side of the door was quite dimly lit). This may not be enough to cause a real problem, but I’d rather not leave that to chance. The bottom of the door can be dealt with either by covering it with a cut strip of the blackout material, or just laying the material down there to cover it up. The other edges I’m shoring up with a “skirt” made of white duct tape.
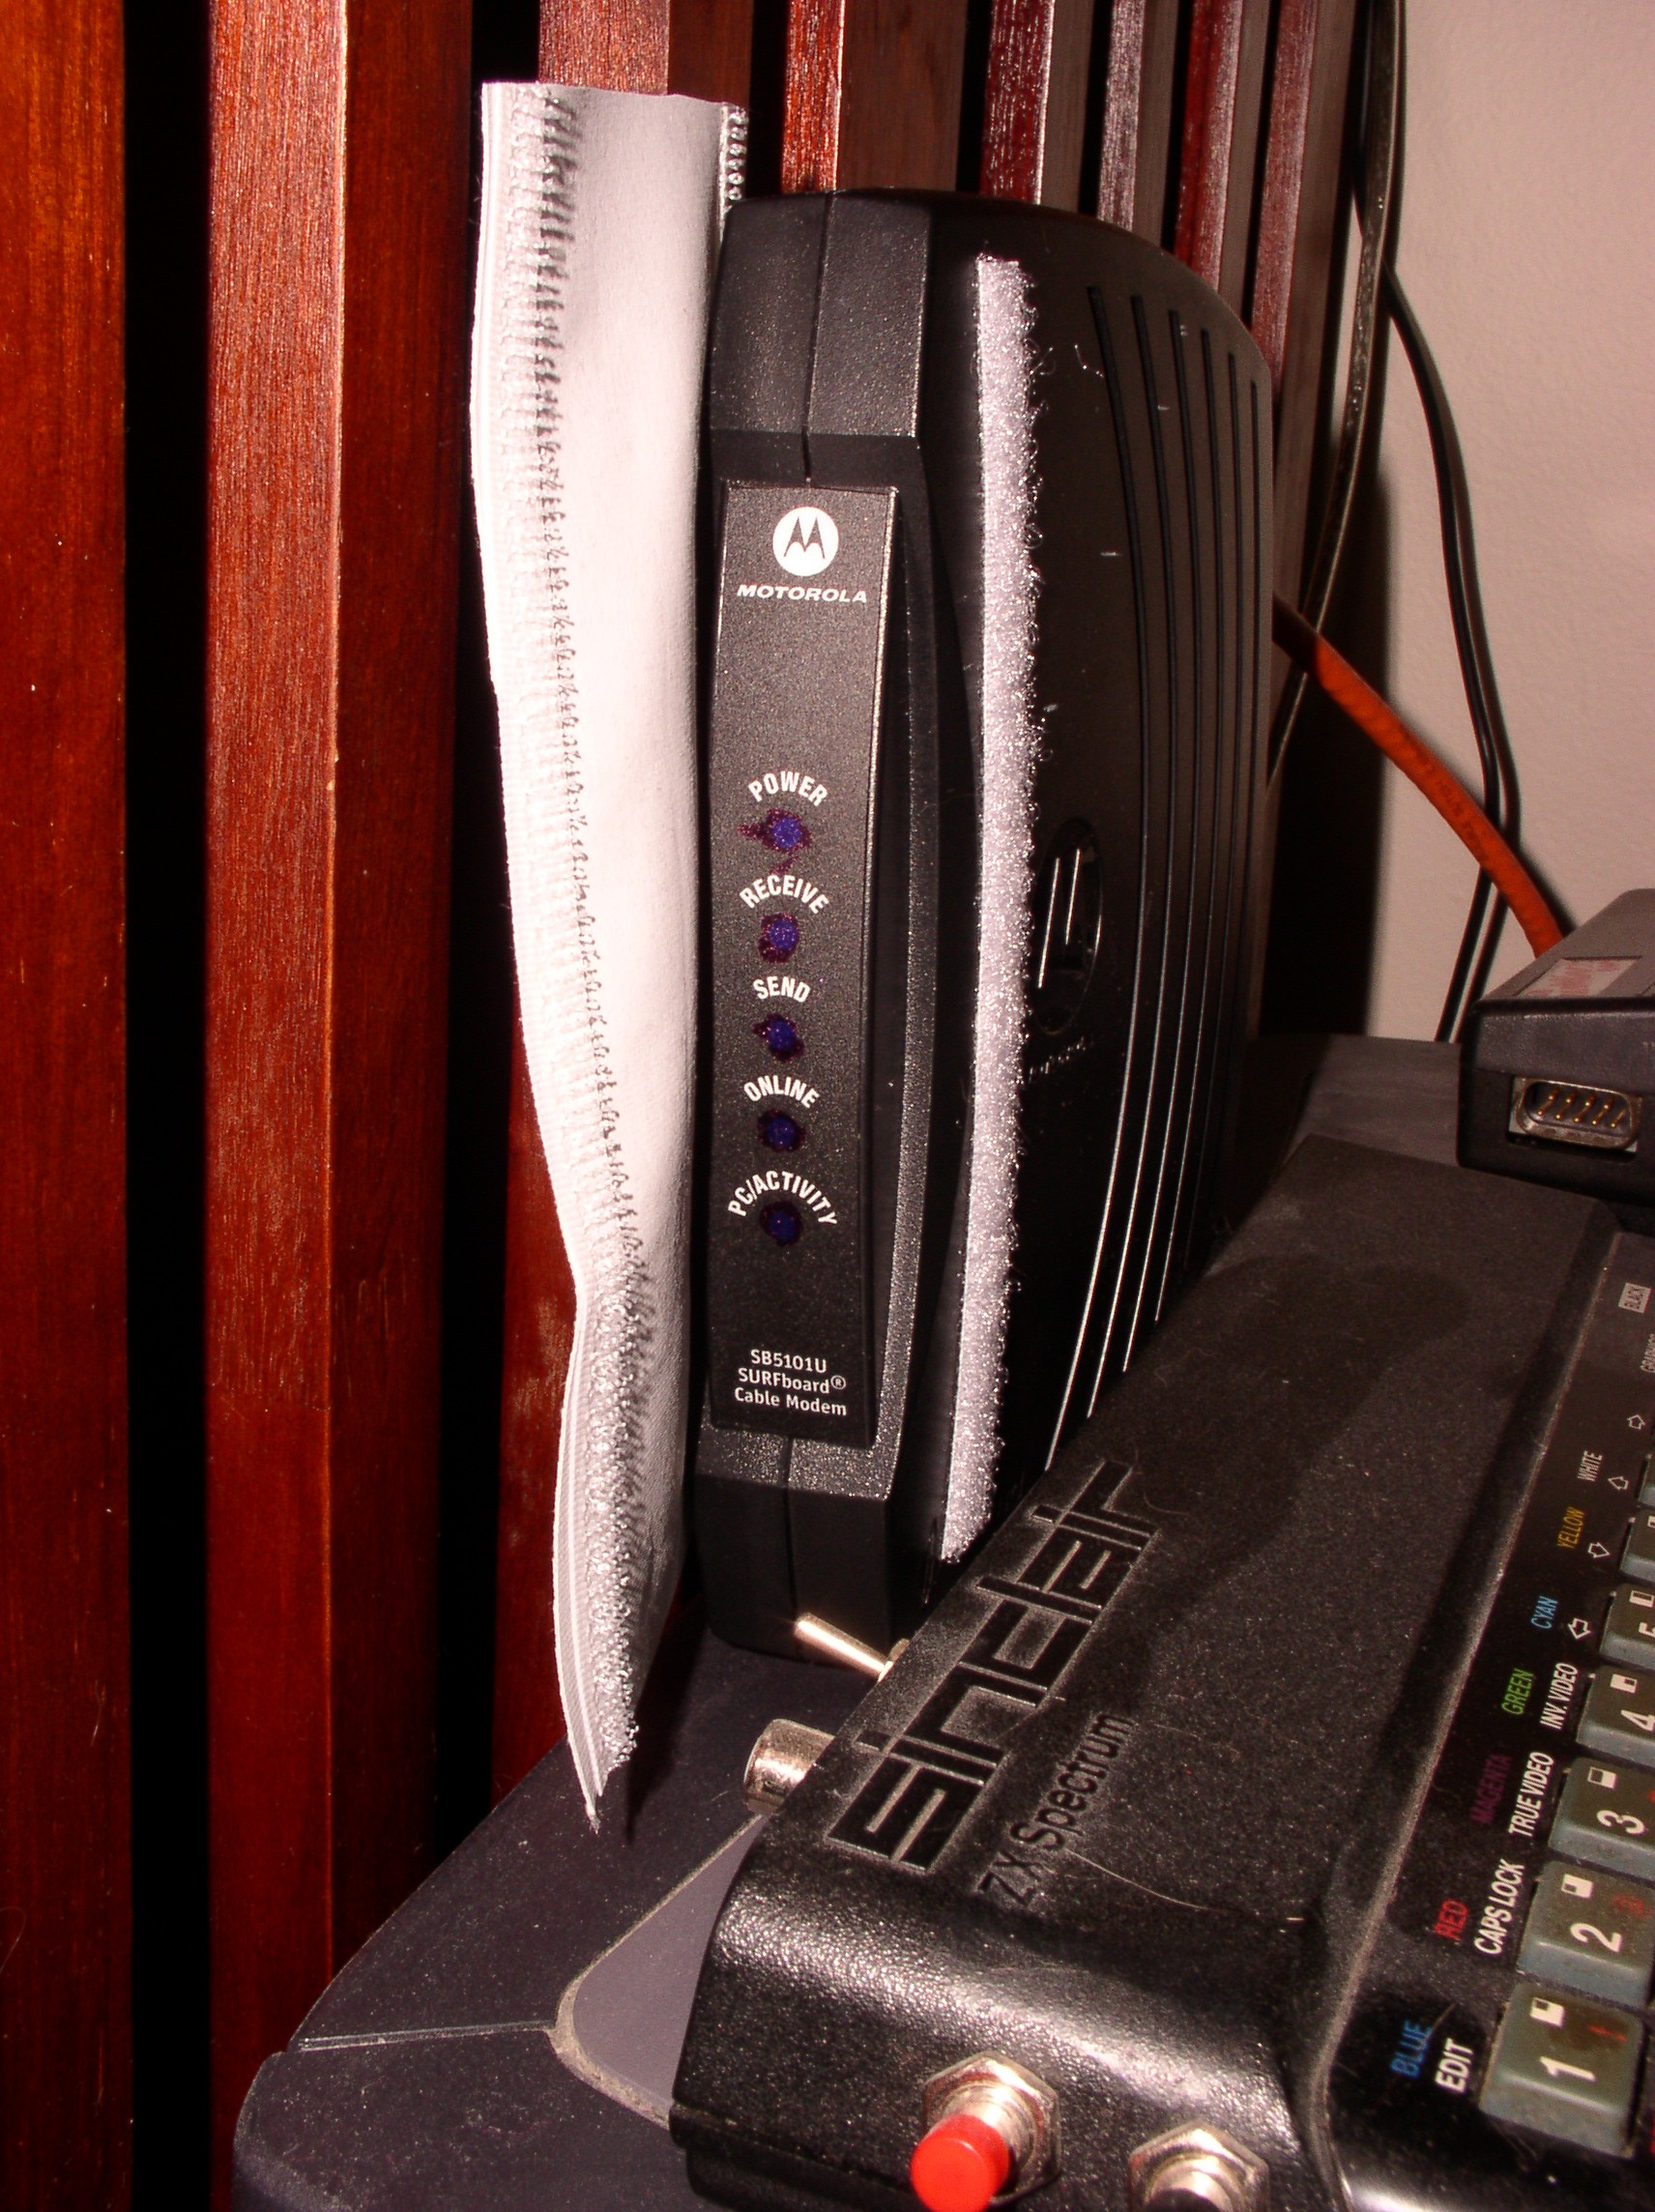 The final problem is that electrical equipment, all of which has LEDs. Some I can switch off while I print or work in the dark. Some I semi-permanently covered up or positioned where they aren’t a problem. The few which need to be visible most of the time (the cable modem and router) I knocked down in intensity using a blue sharpie marker(!) and made covers from pieces of the blackout material which velcro into place.
Testing for light-tightness is straightforward. Configure the room for “dark”, turn out the lights and wait for a while until my eyes adapt to darkness. At this point, even small incursions of light become quite apparent.
Ventilation, hopefully, won’t be an issue. I can open the sliding window behind my blackout a little, and the central heat/AC vents into the room so by running the central fan, I can get a flow of fresh air into the room, then out through the open window. It’s not perfect but for the relatively short printing sessions I expect to run, with frequent trips out to wash prints and basic black & white chemicals being used it should be sufficient. If not, I’ll need to consider ways to improve airflow.
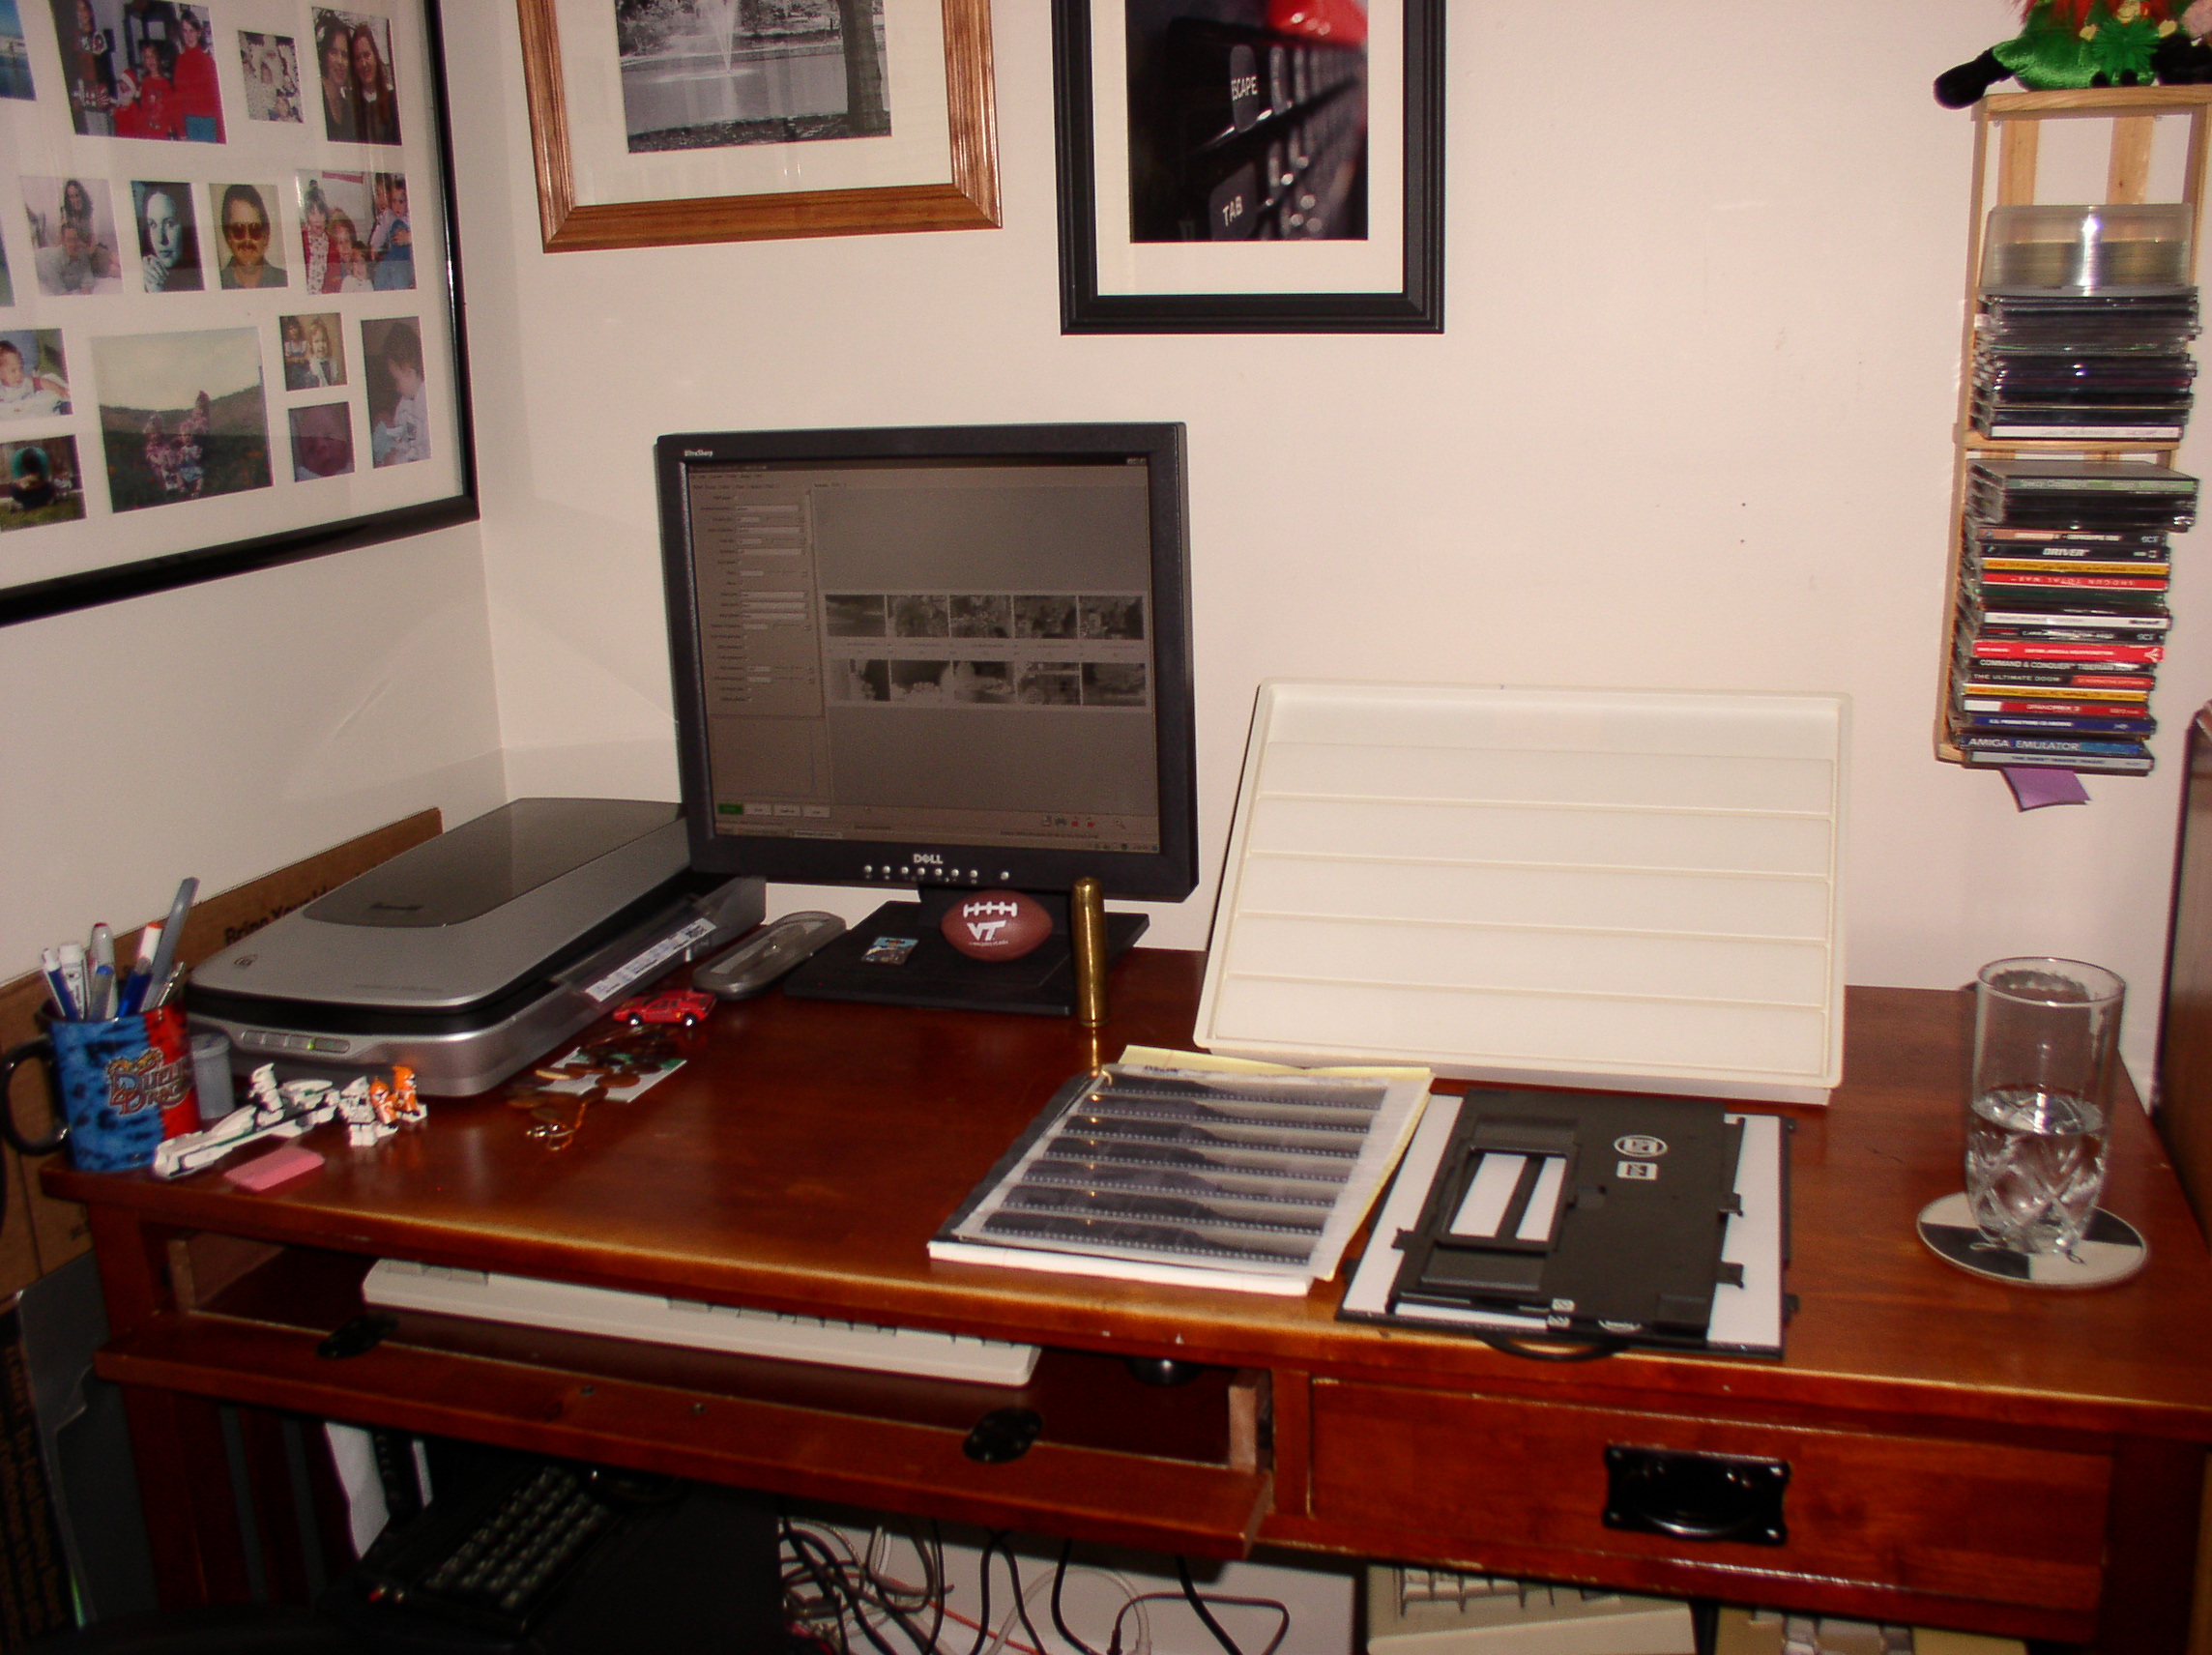 Working areas are the next consideration. The computer desk is big and sturdy. The scanner and monitor take up less than half of the surface area and still leave room in front of the display. Keyboard, mouse etc. live under the desk in a drawer designed for that purpose. I’ve been able to clear sufficient space to keep the enlarger and timer permanently set up. This area is the dry side of the darkroom.
At the opposite wall I have some shelving (and room for a little more) and a folding table which is large enough for several trays to sit on. This will be my wet side. I’ll want to be careful about chemical spills here, as trays are very apt to lose some of their contents. The folding table is a wipe-clean surface at least.
Because of the kitty toilet, I’ll need to keep the enlarger covered to avoid problems with fine dust. There’s nothing much I can do about that, but it’s not really a huge problem anyway. It just gets a little dustier in there than elsewhere. During printing sessions I’ll move their facilities out into the hallway next to the door.
In the absence of running water or drainage, I’ll use the approach of storing finished prints for a short period in a deep tray or pail of water, then take them to the kitchen or bathroom for washing, before putting them up to dry (this will also help with ventilation as I move in and out of the room).
Finally, I’ll need a safelight. Remember that bit about the room being totally dark? For most film work, yes, the room needs to be perfectly dark, but for black and white printing (and certain types of film) a red or amber light can be used. Now, back in the heyday of darkroom work, this meant a dedicated light unit with filters, or maybe a Yankee/Kodak “bullet” style fitting which screws into a regular light socket and houses a low-wattage bulb behind a filter. These units are widely available on Ebay, but for the same sort of money I can opt for the red LED bulbs I mentioned in part 1. A couple of these in cheap clamp lights or installed temporarily in a floor lamp should offer superior light levels and better paper safety compared to the old-school units.
Oh yes, one more thing to add to the darkroom requirements list: a decent sized, easy to read wall clock. It’s all too easy to completely lose track of time in there…
The darkroom project rolls on.
More to follow…