Never content with the maxim “if it ain’t broke, don’t fix it” I’ve been toying with the idea of an LED-based cold light source for my Beseler 23CII condenser enlarger. This is by no means a new concept; there are commercially available white light and variable contrast LED enlarger lampheads on the market already and quite a few examples of home-brewed versions of the same exist.
The dream system for me, as a black and white printer, would be something with royal blue, green and red LED sources driven by a controller/timer system to make a variable/split contrast + safe light source. But that’s a long-term project involving high power LEDs, driver modules and a microcontroller unit. Right now, I’m content to work with my contrast filters, or hard/soft filters for split grade printing, so I only need a suitable white light source.
Why even bother though? The PH140 bulb isn’t that hard to find, yet, I could easily stockpile a couple of decades supply of the little buggers. Oh, but there’s a great reason to ditch the PH140: negative pop. Most of the 75W the bulb slurps down comes out as heat and some of that IR energy gets focused down through the condenser lenses and directed into the negative stage along with the visible light. The negative heats up, expands and shifts, causing the focus point to change. If I quickly focus a cold negative then keep watching through the grain magnifier, it soon drifts back out of focus. This is a pain in the ass.
Yes, I could get a glass negative carrier, or a heat absorbing insert, or a cold light head, but all have drawbacks of their own, or are expensive and hard to find, or don’t fully solve the problem, or all of the above.
Luckily, the push to energy efficient lighting coupled with the shortcomings of CFL bulbs has forced manufacturers to develop LED based bulbs and get the price point down to an affordable level. The 60W and below LED equivalents are pretty good these days, certainly better in a good many ways than the CFLs I have lighting our apartment now.
But are any of those suitable for my plan? There are a few requirements which need to be met before I can even start:
- Sufficient light output. For sure, I can cope with less light than the PH140 cuts loose. I already have to use neutral density filters often enough, so I could easily deal with a bit less light output. The 60W equivalent LED bulbs put out about 800-900 lumens, compared to the 1150LM rating of the PH140. That’s more than good enough.
- Light makeup. Graded paper is blue sensitive, and variable contrast can “see” blue and green wavelengths. As it turns out, typical warm or soft white light LED bulbs have a wide-ish blue peak and green output which correspond nicely with the wavelengths the paper can “see”. Combined with suitable blue and green filters I should be able to get a healthy range of contrast using split grade printing on VC papers. The LED bulbs do have a strong peak in the blue which isn’t found with an incandescent, which might impact contrast, but I’m going to take a “try it and see” approach here. Results beat theory, after all.
- Even, diffuse light without any “clutter”. A condenser enlarger needs a very evenly lit and clean source. Even a normal frosted household bulb isn’t frosted enough to meet that need. Some LED bulbs just won’t cut it.
- Must turn on and off without delay. It has to behave exactly like an incandescent, if not better, otherwise timing exposures could be troublesome.
- Will fit into the lamphouse far enough to work. The 23CII condenser head has a fairly narrow lamphouse. A standard 60W bulb will fit, so should the 60W equivalent LEDs. None of them are outlandishly wide.
- Reasonably priced. If it costs $50 to buy one of these, I’ll pass and put the money toward my super-duper VC LED project instead. Fortunately, there are good candidates in the $20 and under range.
For the most part, 60W replacement LED bulbs meet these needs. The even, diffuse light requirement is potentially troublesome though. Some LED bulbs are triumphs of form over function and while they might illuminate a room perfectly well and even look good doing so, they’re never, ever going to work in an enlarger. Some promising candidates proved unworthy on closer inspection, like the Cree bulbs which have a dark spot on the very tip, right where I need the most even illumination; and the newer plain white diffuser Philips bulbs which reportedly have a noticeable on/off delay which would screw up timing.
In the end, one bulb stood out after some online research, and even better, it was the cheapest one I found, and available at my local store: the Utilitech Pro 60WÂ at Lowes. I went ahead and grabbed one. I also picked up a little 7.5W nightlight bulb, to use for pre-flashing paper, a subject for another post later on.

The contenders: 75W PH-140, Utilitech Pro 60W equivalent LED, and the 7.5W incandescent nightlight for flashing.
When I powered it up, it was immediately apparent that I was on the right course. The bulb puts out very even light throughout the angle of coverage, and especially on the top where it matters most to me. It’s bright, too, almost as bright as the PH140. It turns on and off without delay compared to the incandescent. As heat goes, the plastic diffuser stays cool and little to no heat is directed that way. In a base-up configuration, there won’t be any noticeable level of heat going downward. Bye-bye, ghastly negative pop!
Unlit comparison. The PH140 is not as wide, both are quite evenly frosted-looking.
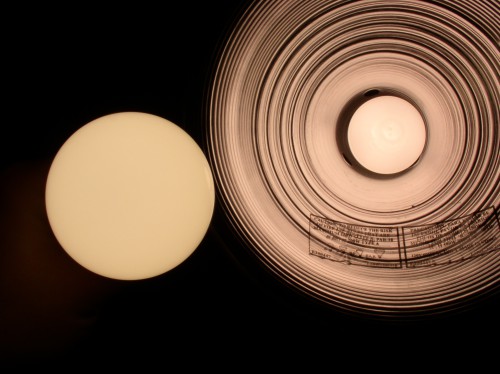
Lit comparison. Very even light from both. PH140 marginally brighter.
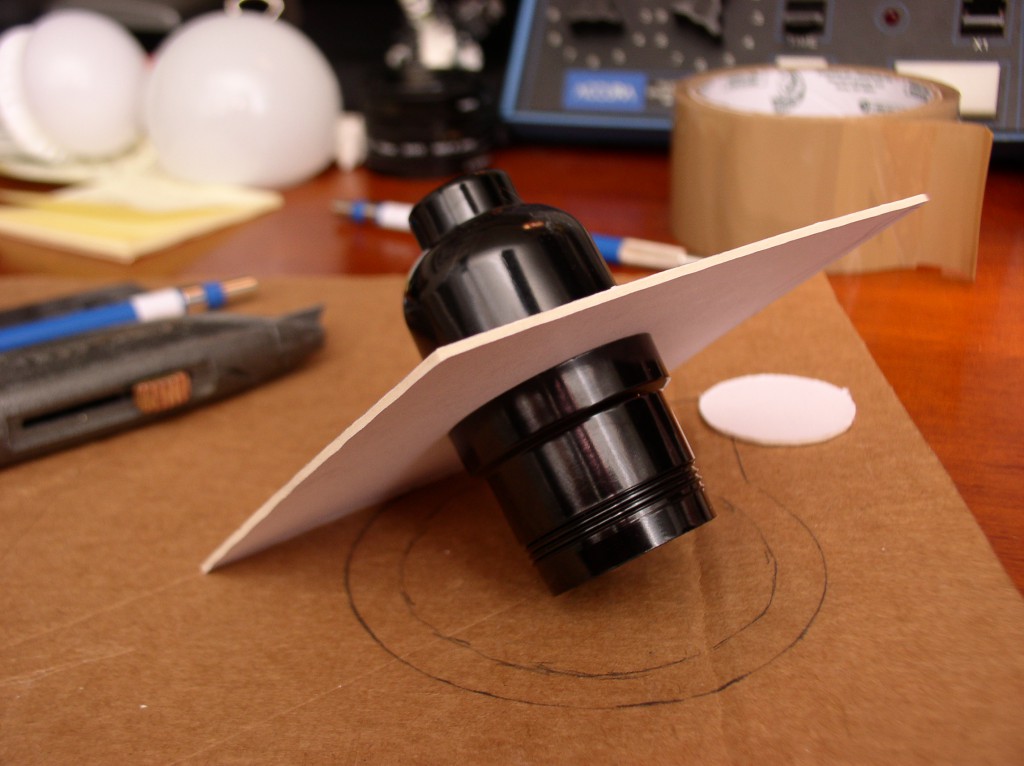
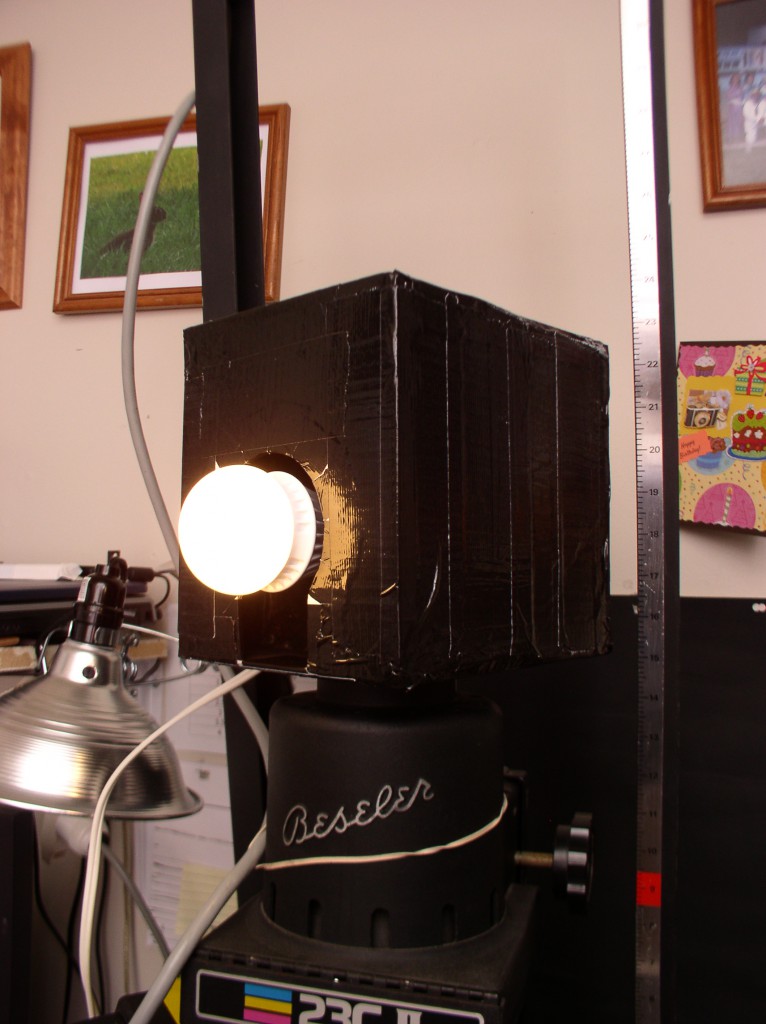
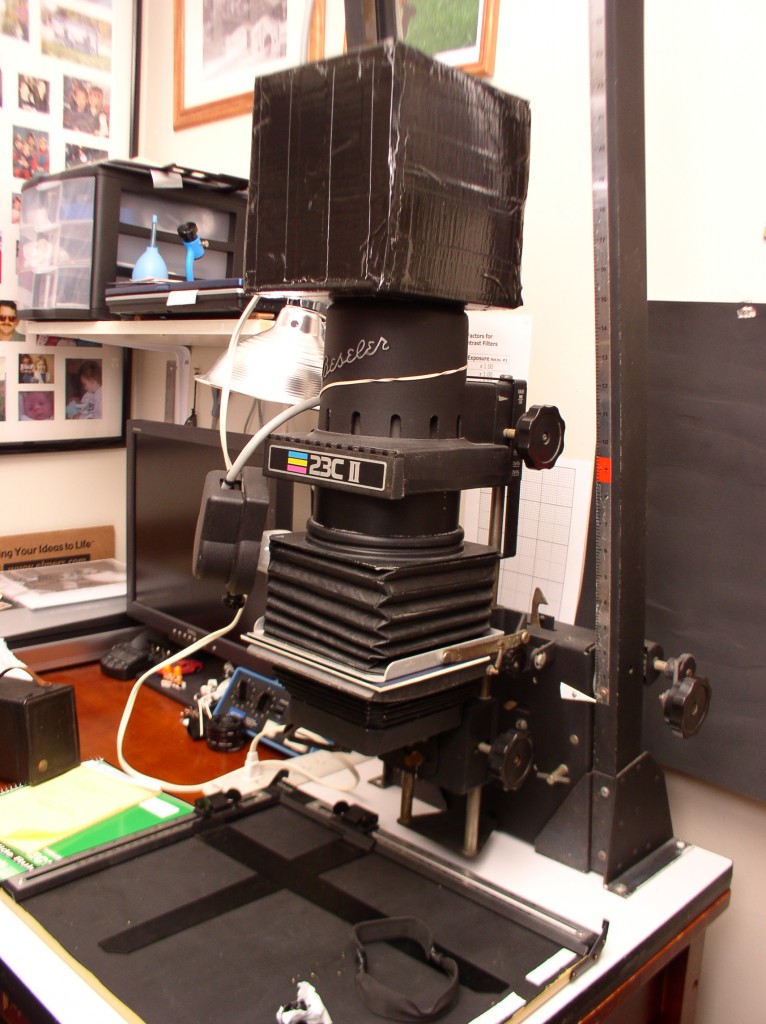
I’ll need to fabricate some sort of holder, as it won’t screw into the Beseler lamp socket (the heat sink clashes with part of the assembly) but this is likely a blessing in disguise, as the heat buildup in that space would be potentially bad for the LED bulb. Also, it would put the bulb very close to the condenser lens.
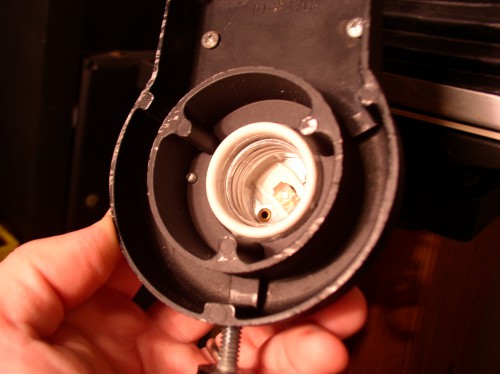
I won’t be using the enlarger’s standard lamp holder. Those 3 nubbinses clash with the LED bulb’s heat sink and prevent it from screwing in. Even if I could, the bulb surface would be too close to the condenser and the poor thing might well roast itself alive.
To test how it might work in a real enlarging setup, I configured the enlarger for 6×9 (the absolute worst case, compounded by my 80mm lens being only marginally suitable for that format) and compared the image of my empty negative holder projected onto the baseboard for the PH140 bulb in standard configuration against the LED bulb held by hand in the enlarger.
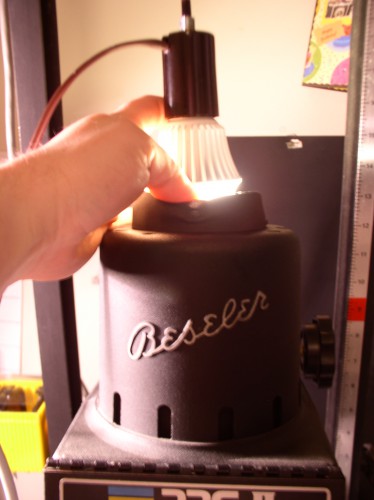
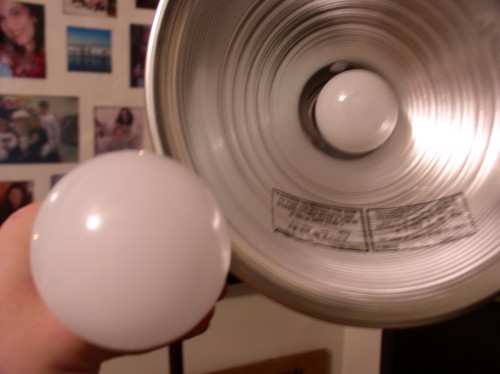
Try *that* with an incandescent! Holding the LED bulb in place for testing.
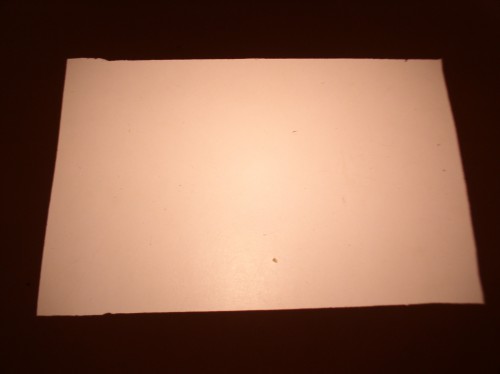
Light spread: 6×9 holder, 80mm Componon-S lens, PH140 enlarger bulb.
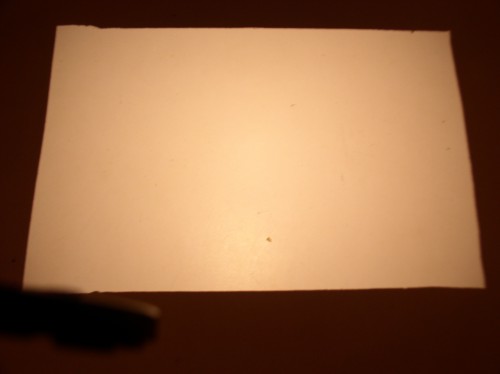
Light spread: 6×9 holder, 80mm Componon-S lens, Utilitech Pro LED bulb handheld.
The light spread looks quite similar in both cases, which is a good sign. I feel like I can proceed with fabricating a holder for the bulb, which I cover in part 2 of this trilogy of posts, so that I can run some real life tests.