In part 1, I explored options for a cheap LED-based enlarger lightsource and settled on a 60 watt replacement, off-the-shelf bulb which looked promising.
However, there was no way I could use the existing lampholder for this. I needed to come up with something to hold it firmly in a position which would work for the purpose.
As is often the case with such prototype, cobbled together designs, I chose to work in the easiest possible media: cardboard, hot glue, acrylic paint and duct tape!
Be aware that this is a project involving line voltage electrical components and is built on the assumption that nobody will EVER be stupid enough to try running something like a 60 watt incandescent in it. If you aren’t comfortable or competent working with things which will connect to typical household 110 or 220 volt outlets, don’t even bother; it’ll hurt you, or worse, if you don’t respect it.
Anyway the build process is best described in pictures.

Position of the standard PH140 bulb. Clearly this is not too critical; my example is a bit off-center. My LED bulb has a wider frosted area facing down, so my main concern is proper fit and the correct height above the condenser.
The box, a fairly thick-walled 6x6x7 inch affair, will provide ample space for the design I aim to implement here. It mounts atop the enlarger lamphouse using a hole I have already marked up and cut. There’s sufficient clearance to allow the enlarger head to move the full length of the column.

I needed a platform on which the lamp socket could be mounted. Careful measurement of the original lamp holder, PH140 bulb, and the new bulb, suggested a level where this needed to be positioned. It’s very thick cardboard cut from the box my enlarger arrived in, initially held in place with nails pushed through the outside of the box. The large opening will have a thinner piece of mat or illustration board, cut with vents and a hole for the lamp socket to mount up. This will allow a bit of fine positioning before securing in place.

The mat board socket holder, cut with small vents to allow the little heat from the LED bulb’s heatsink to escape upward.
Socket mount panel with the lamp socket in place.
Interior panels in place, and light socket mounted. The panels are held by a couple of nails in each side, and hot glued in place. The light socket panel is hot glued to its platform. The upper panel allows heat to pass upward to escape though the hole on top, but blocks any stray light finding its way up from the bulb.
To be sure of trapping any light leaks, I paint the interior flat black.
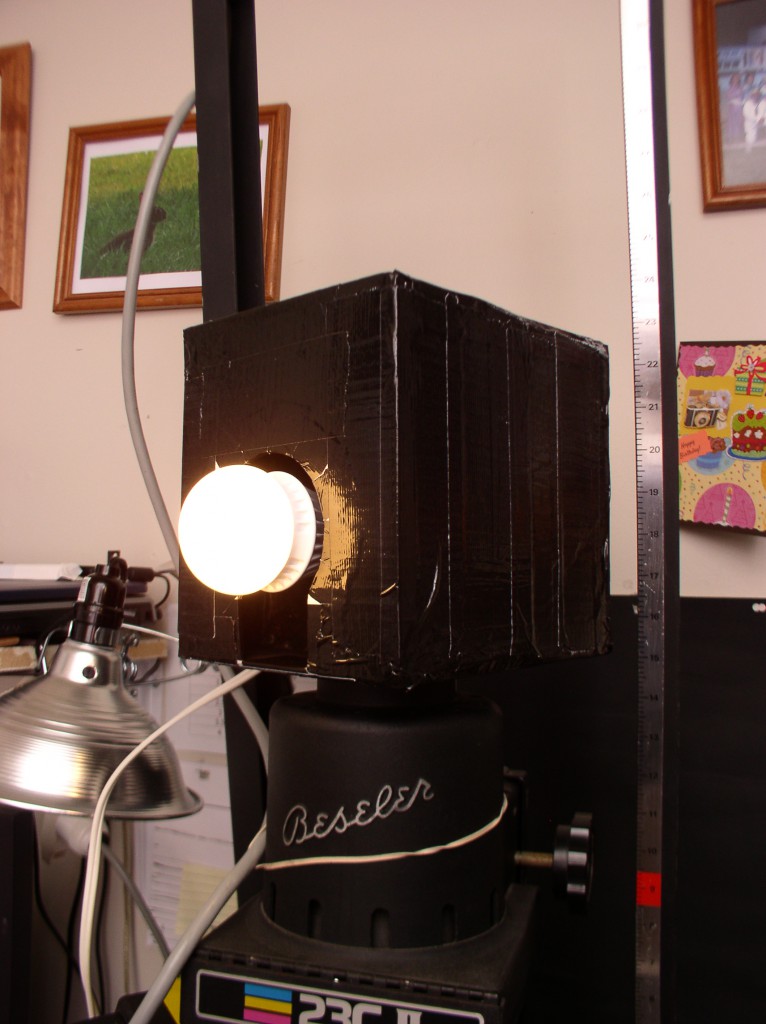
Q: What do you get if the Borg assimilate a redneck? A: a cube covered in black duct tape. Shown here with the LED bulb screwed in and powered up.

With the new lamp holder in place, the LED bulb location is close to the original bulb. Height is correct, and it’s probably better centered than the PH140 ever was!
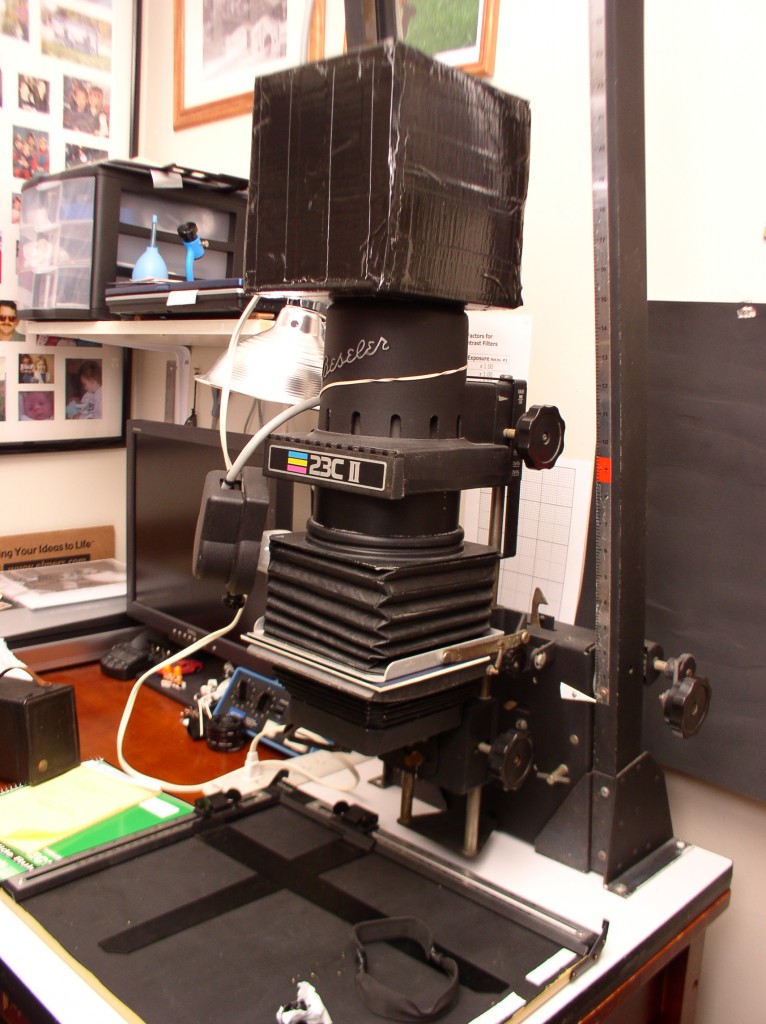
Mounted up on the enlarger.
So there you have it. In the final part of this series, I’ll test the thing to make sure it works at all.